My portraits are created using my client’s digital photos of their pet as references. It is important that I receive good quality photo(s) to work from, so I’ve put together some key tips & examples to help you when you’re choosing and/or taking photos for your portrait.
I am always more than happy to discuss photos on an individual basis, so if you’re still unsure after reading this then feel free to send me some of your favorite photos and I can talk through all of the possibilities and which would translate well into your vision for your pet’s portrait. You’re welcome to send me as many photos as you’d like, the more-the merrier just make sure to let me know which is your preferable pose or your favorites out of the selection you send me. We will discuss these photos prior to my beginning your commission.
~Taking Good Photos of your Pets~
Being that I have, unfortunately, not had the opportunity to meet your sweet companions in person, the quality of reference photo is key! However, that is easier said than done as some pets can be camera shy or very fidgety!
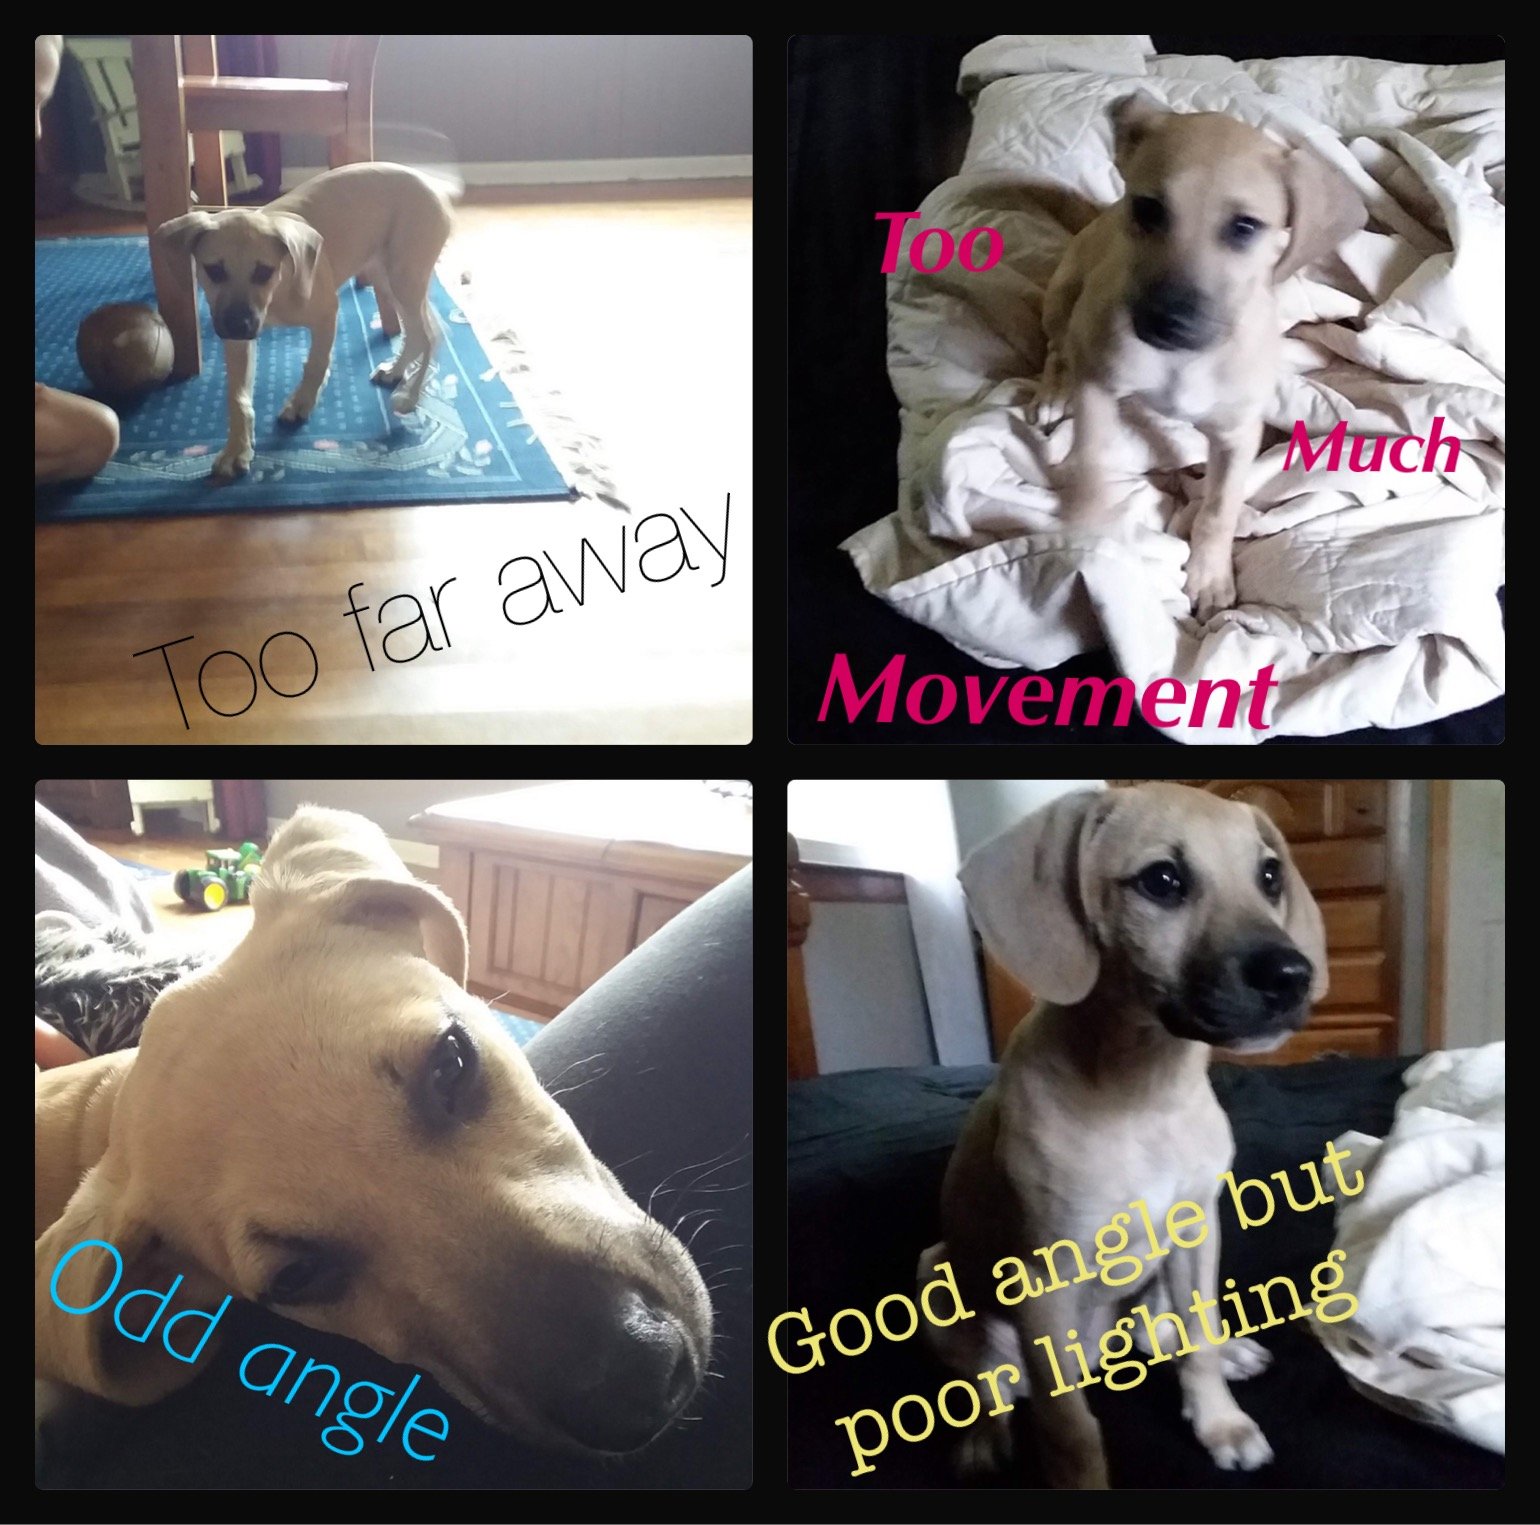
During your photoshoot, patience is necessary. Try to snap your pet when they are relaxed and content. It may take some time to wait for these little moments, but you’ll be happy you did! Both eyes should be open(unless you specifically want a portrait of them sleeping). Often the best way to get your pets attention and an attentive expression is to use a treat or favorite toy to direct their gaze.
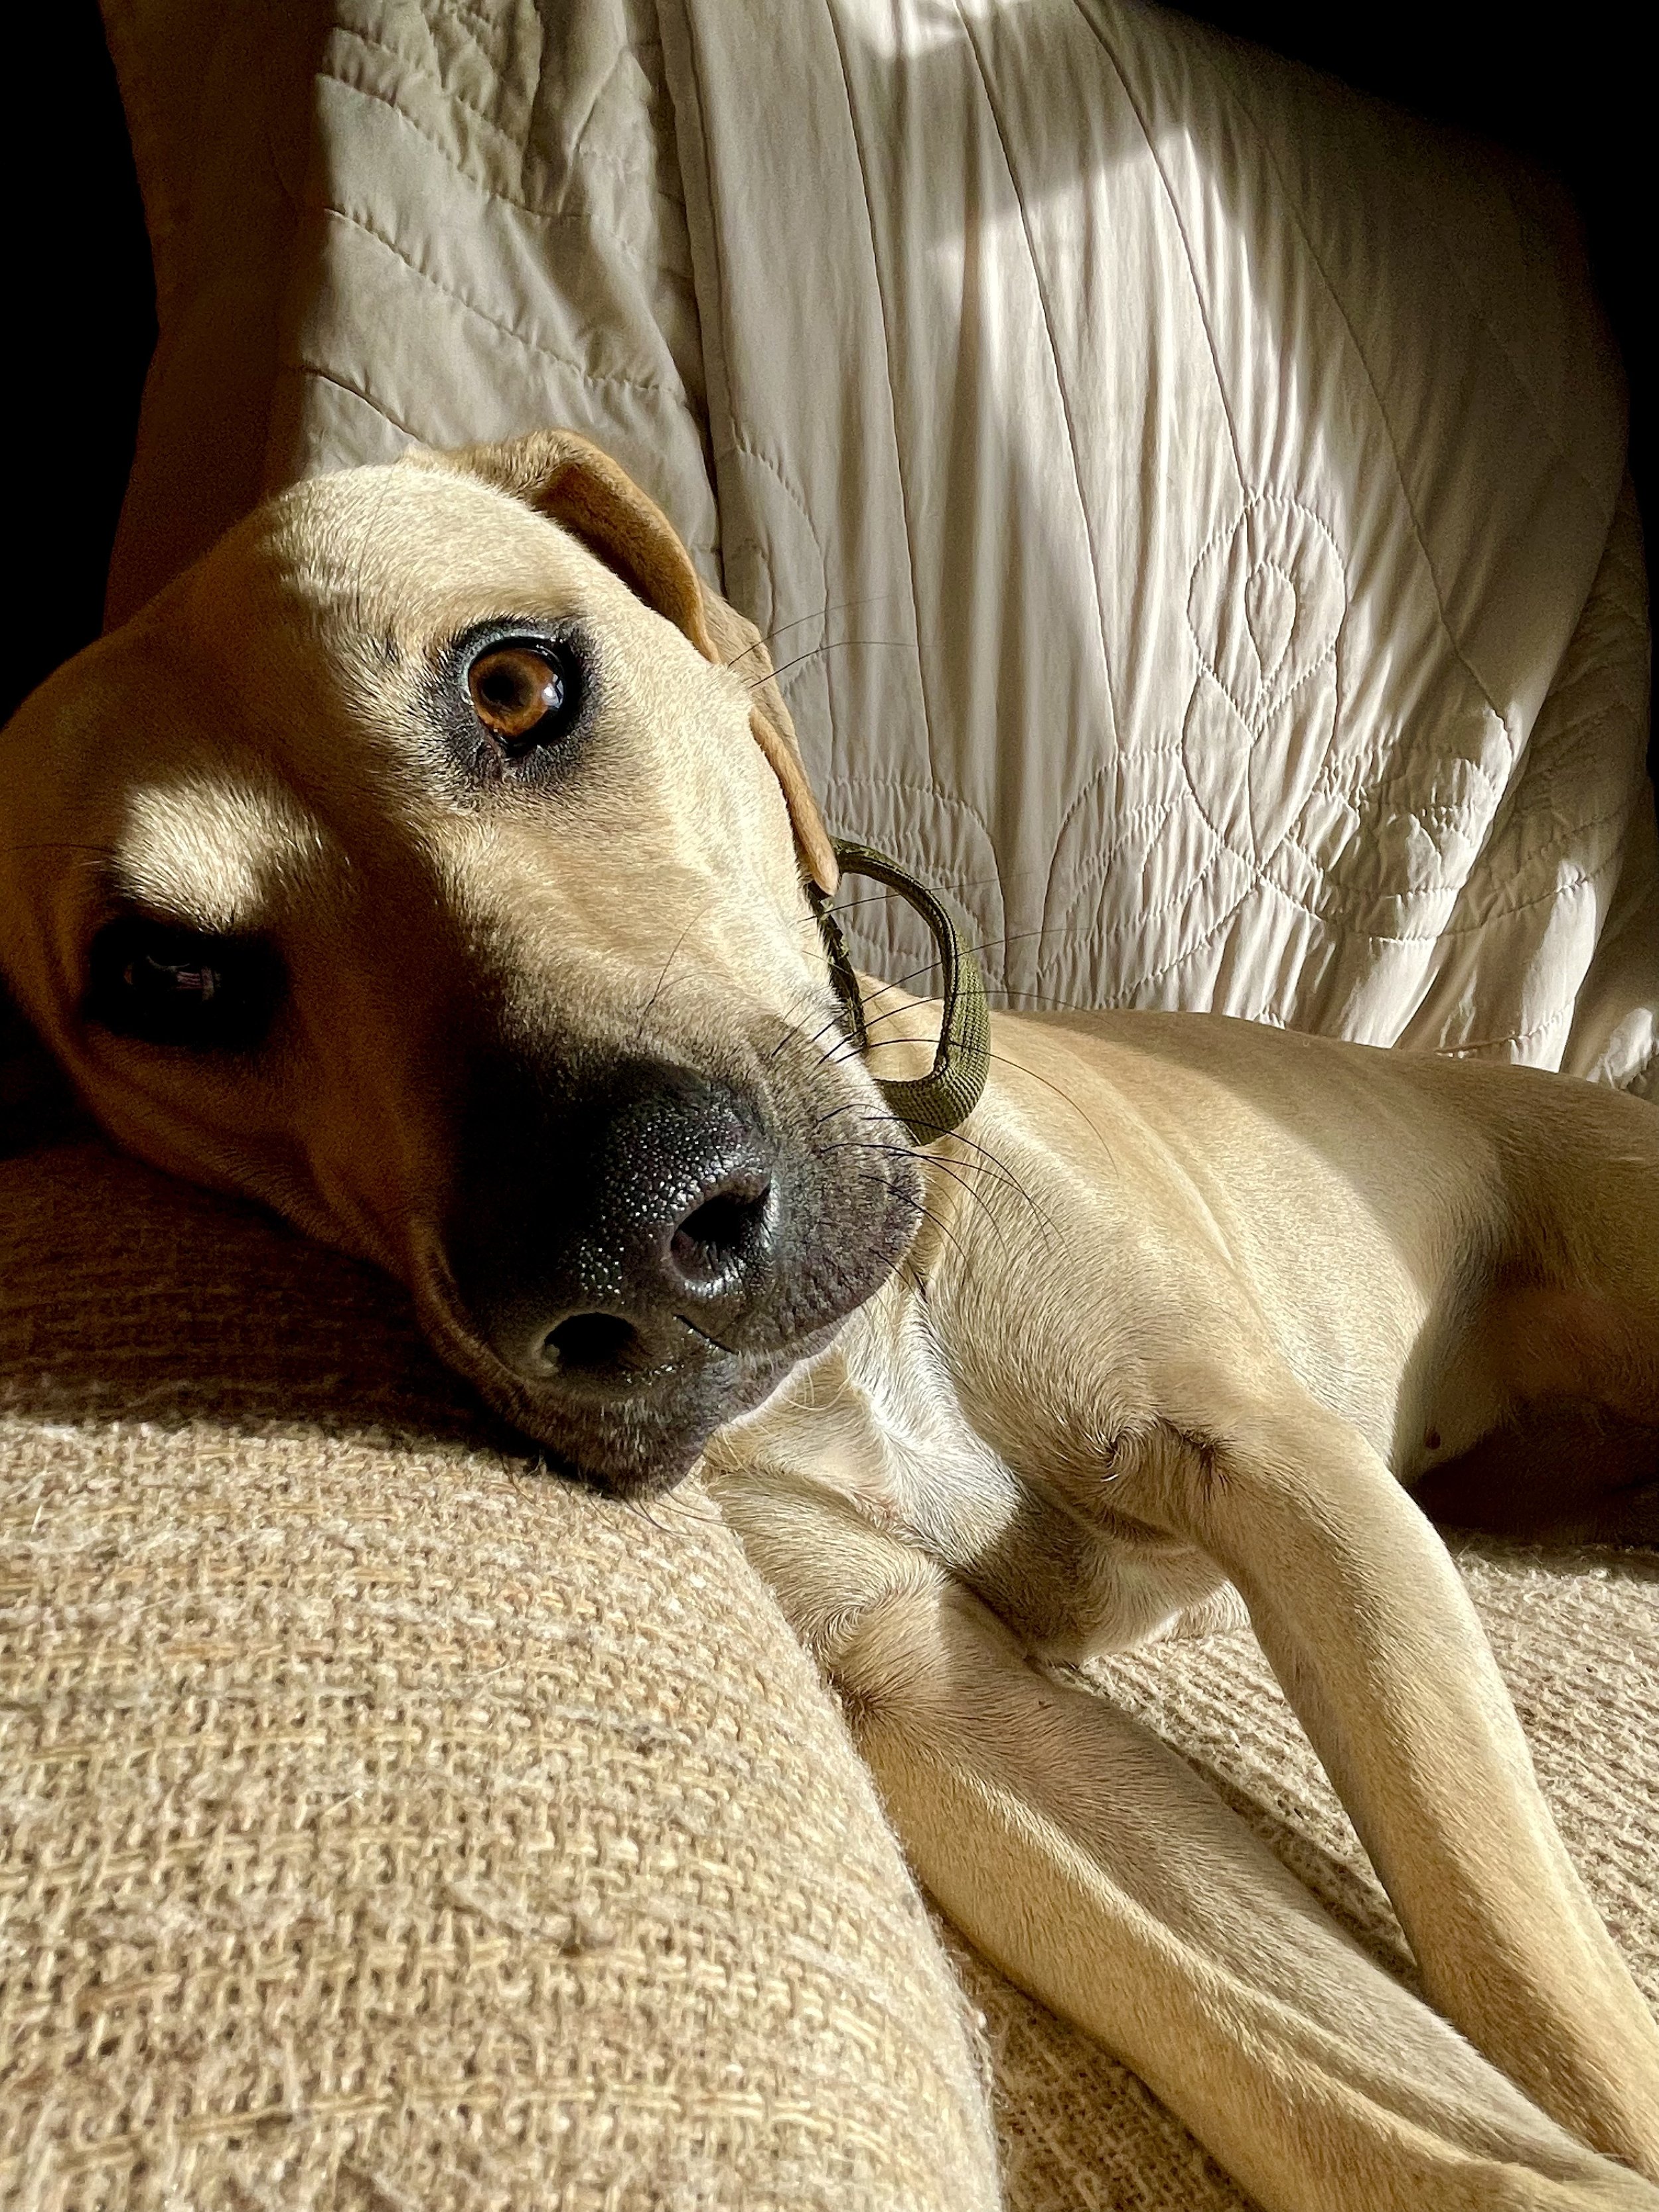
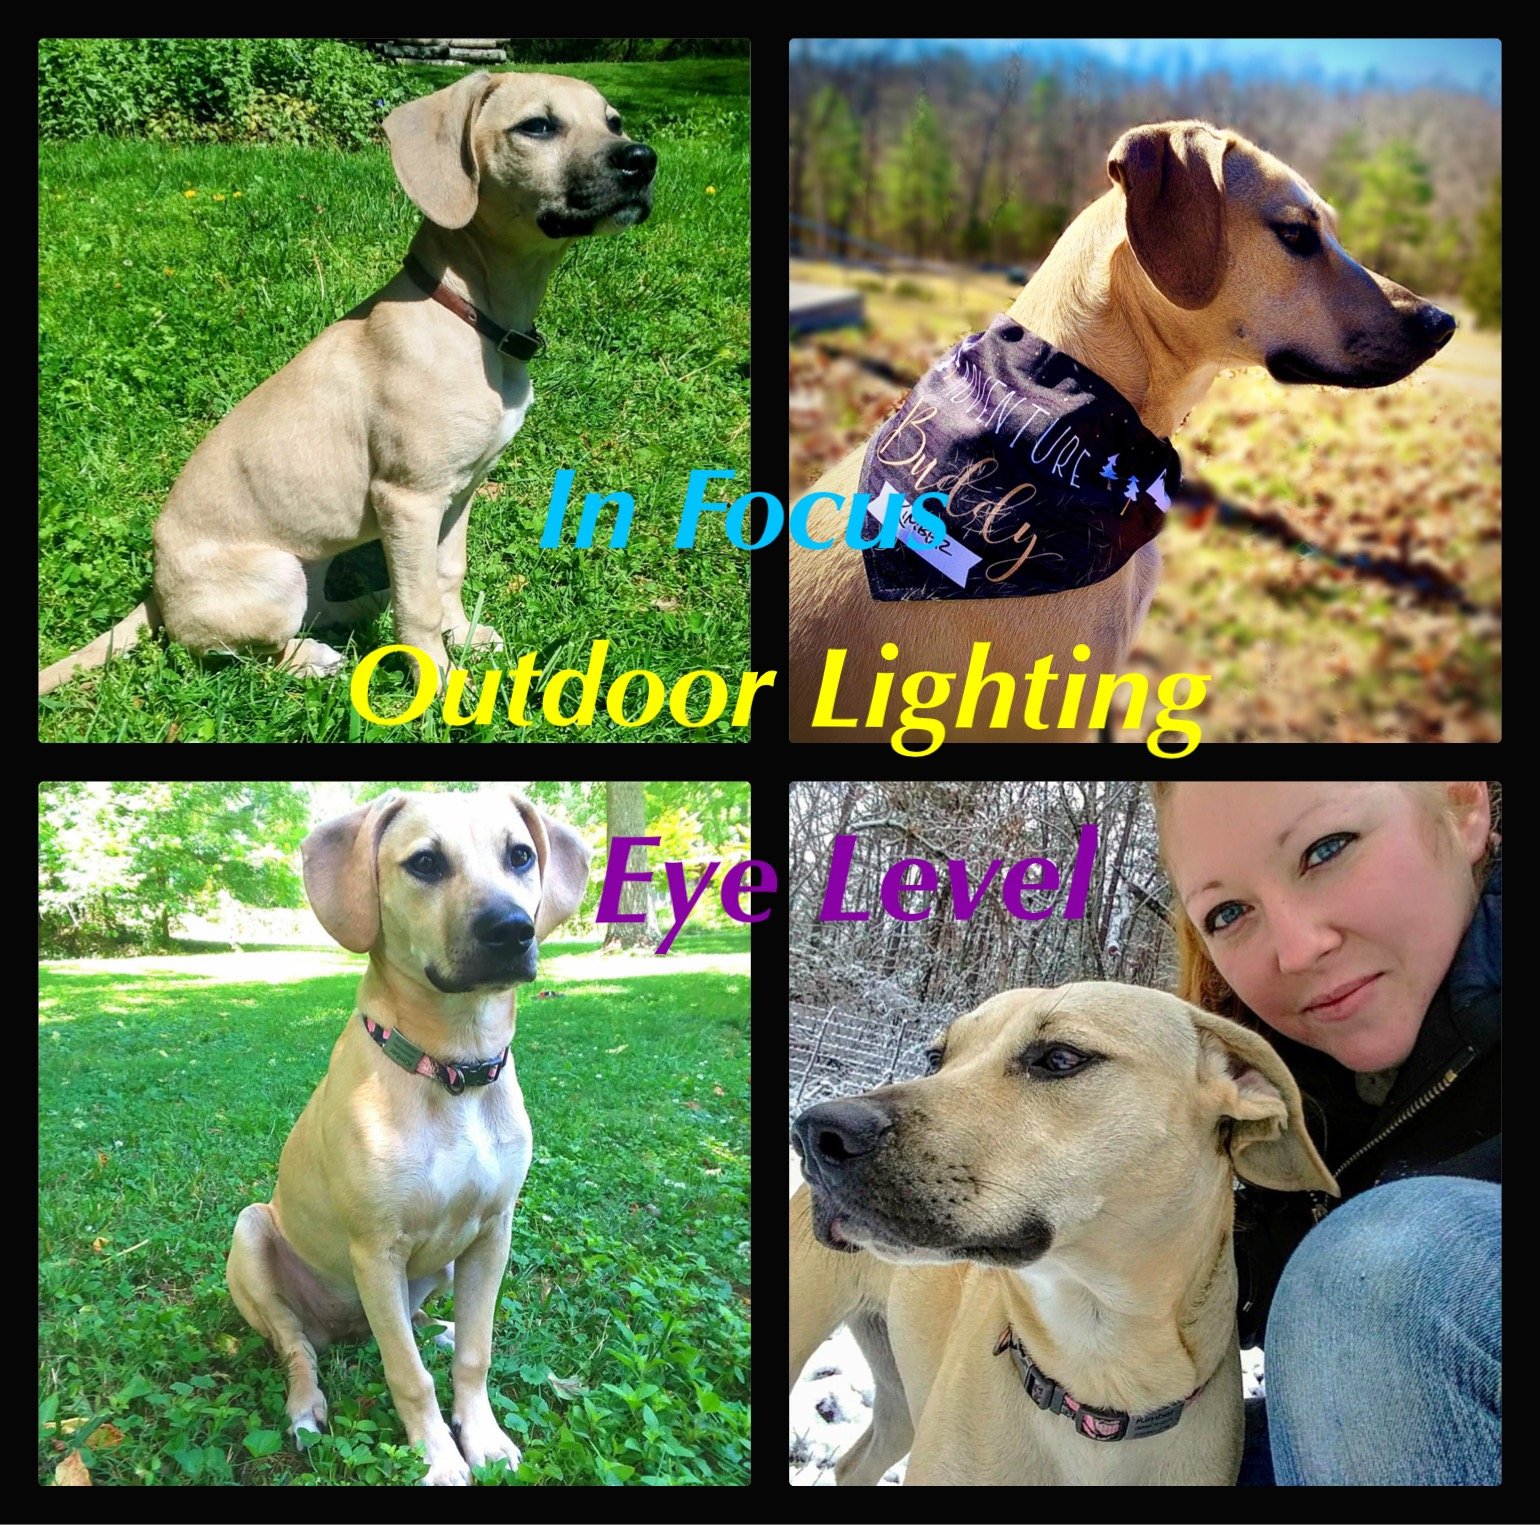
Always take photos at the same eye level as your pet, making sure that you’re not angling up or down on them with the camera as it has a tendency to distort their proportions(sometimes in a very unflattering way)
Try to fill roughly two-thirds of the image with your pets head/body so that I can see as much detail as possible. That said, try to ensure that all of their head and ears are in frame with no essential parts cut out from the picture. The “Zoom” function on a camera will lower the resolution of the image.
Photos are best taken in natural daylight. Outdoor lighting is the best for getting an accurate representation of their fur/eye colors. If the lighting is too bright, the details get over-exposed and washed out. Too dark and the details are lost in shadows(which can be a wonderfully dramatic style if that is what you’re drawn to however) If outdoor photos aren’t an option, use a room of your house that gets lots of natural daylight and make sure all the indoor lighting is switched off as well as the flash on your camera.
Crisp and clear is key! It is essential that they are in focus and not blurry, their face especially, in order for me to see all of the fur, eye, & nose details that make your pet unique. You can check if it will be clear enough by zooming in on the photo you just took and seeing if it becomes very blurry or pixelated. The more detail I can see, the more realistic I can make your portrait!
Multiple Subject Portraits
It is more important for me to have quality photos of the individual pets than one poor photo of them together, however, if there is a notable size difference, I will also need to see this to render an accurate depiction of them both.
Separate photos of pets should ideally be taken from a similar angle, I am experienced with working from multiple photos and will do my best to ensure for a natural looking composition.


